When you’re out on the open road in your RV, it’s essential to have a stable and level living space. Proper stabilization ensures a more comfortable experience inside the vehicle, prevents unwanted movements, and helps maintain the integrity of your RV. In this blog, we will guide you through three easy steps to stabilize your RV effectively and enjoy a smoother journey.
Step 1: Find Level Ground or Use Leveling Blocks

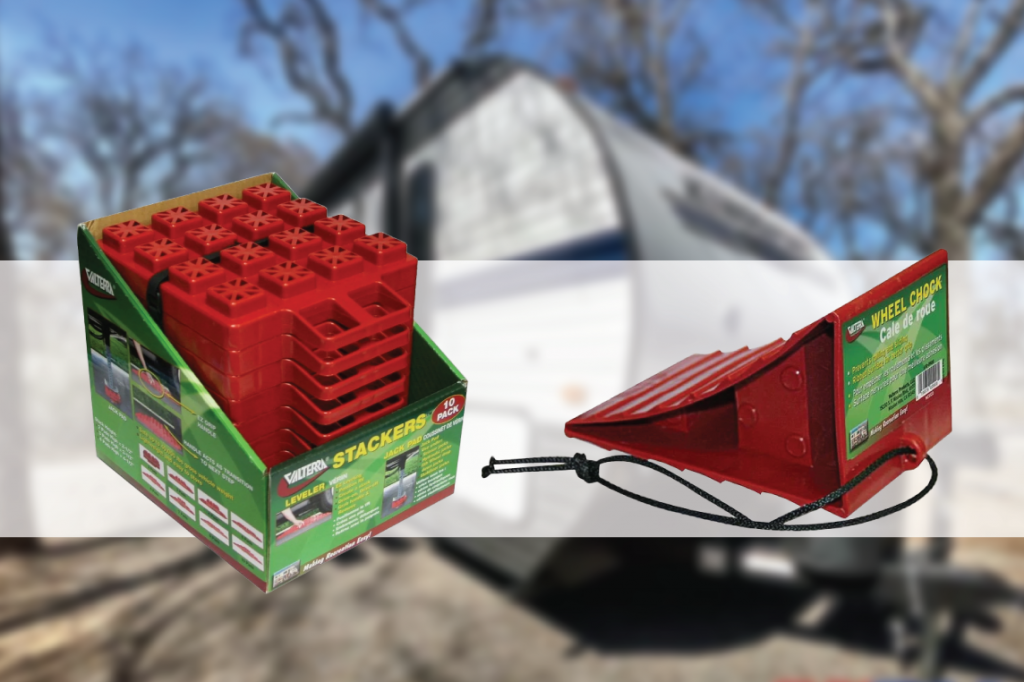
The first and most crucial step in stabilizing your RV is finding level ground. A level surface provides a solid foundation, minimizing the risk of your RV swaying or rocking. If the ground isn’t naturally level, you can level it yourself using leveling blocks. Here’s how to use leveling blocks:
- Park your RV in a relatively flat area.
- Place the leveling blocks in front of or behind the wheels that need to be raised.
- Slowly drive your RV onto the leveling blocks until it reaches a level position.
- Check the levelness with a bubble level or an onboard leveling system.
Remember to chock the wheels on the opposite side of the leveling blocks to ensure stability. By finding level ground or using leveling blocks, you’ll create a solid base for further stabilization steps.
Step 2: Tongue Jack or Front Jacks

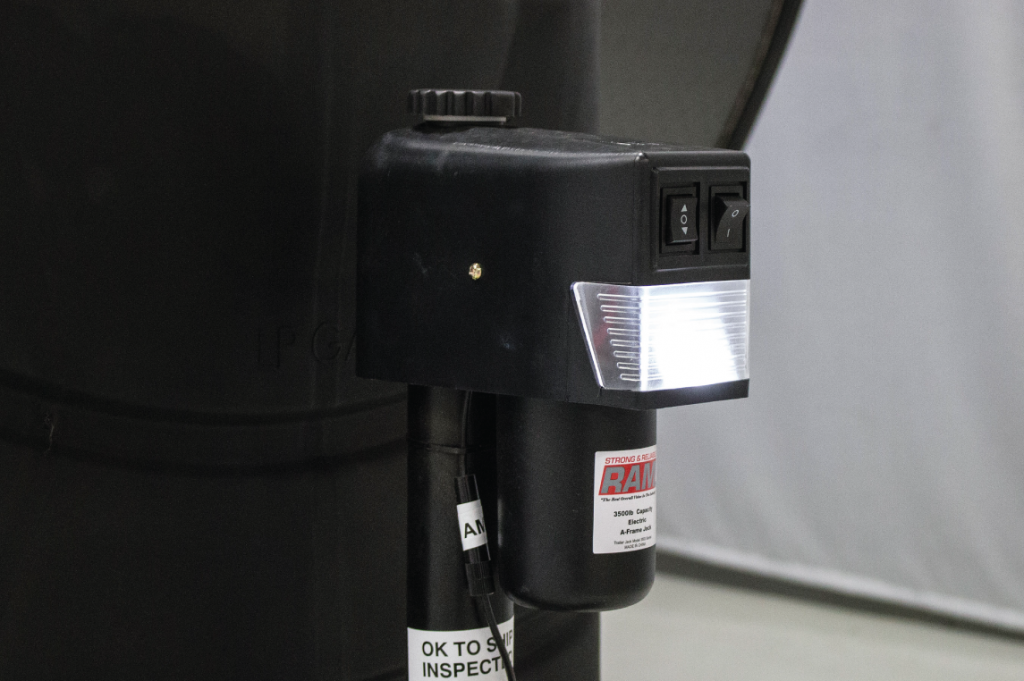
Set Your Tongue Jack or Front Jacks To stabilize the front end of your RV, you’ll need to use the tongue jack or front jacks, depending on your RV’s configuration. Follow these steps to properly set them up:
- Locate the tongue jack or front jacks on your RV. They are typically positioned near the hitch or at the front end of the vehicle.
- Extend the jack(s) until they make firm contact with the ground. You may need to crank them down manually or use an electric or hydraulic system, depending on your RV’s setup.
- Apply steady pressure to lift the front end slightly, ensuring the tires are still in contact with the ground.
- Once the RV feels stable and secure, stop extending the jack(s) and double-check the levelness.
By setting your tongue jack or front jacks correctly, you distribute the weight evenly and minimize any unwanted movement in the front part of your RV.
Step 3: Stabilizer Jacks

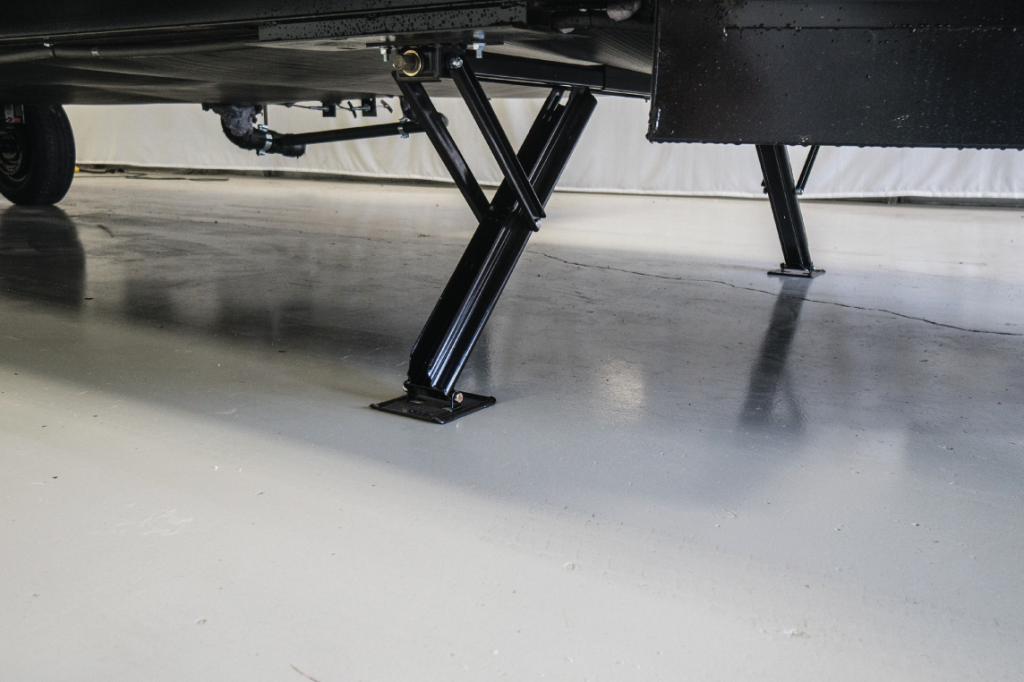
The final step is to utilize stabilizer jacks, which are typically located at the corners or sides of your RV. These jacks help further stabilize the vehicle and reduce any side-to-side motion. The usage may vary depending on whether your RV has an auto-leveling system: For RVs with an auto-leveling system:
- Activate the auto-leveling system following the manufacturer’s instructions.
- The system will automatically extend the necessary jacks to level and stabilize the RV.
For RVs without an auto-leveling system:
- Locate the stabilizer jacks near each corner or side of your RV.
- Use a manual crank or an electric drill with the appropriate socket to extend each stabilizer jack until it makes firm contact with the ground.
- Avoid overextending the jacks, as it may lead to unnecessary strain.
- Once all stabilizer jacks are extended, double-check the levelness and make any adjustments as needed.
By utilizing stabilizer jacks, you’ll effectively reduce the RV’s sway and increase stability during your journey, ensuring a more comfortable experience. Stabilizing your RV is a crucial aspect of enjoying a comfortable and safe experience on the road. By following these three easy steps—finding level ground or using leveling blocks, setting your tongue jack or front jacks, and using stabilizer jacks—you’ll minimize unwanted movements and ensure a comfortable camping trip
