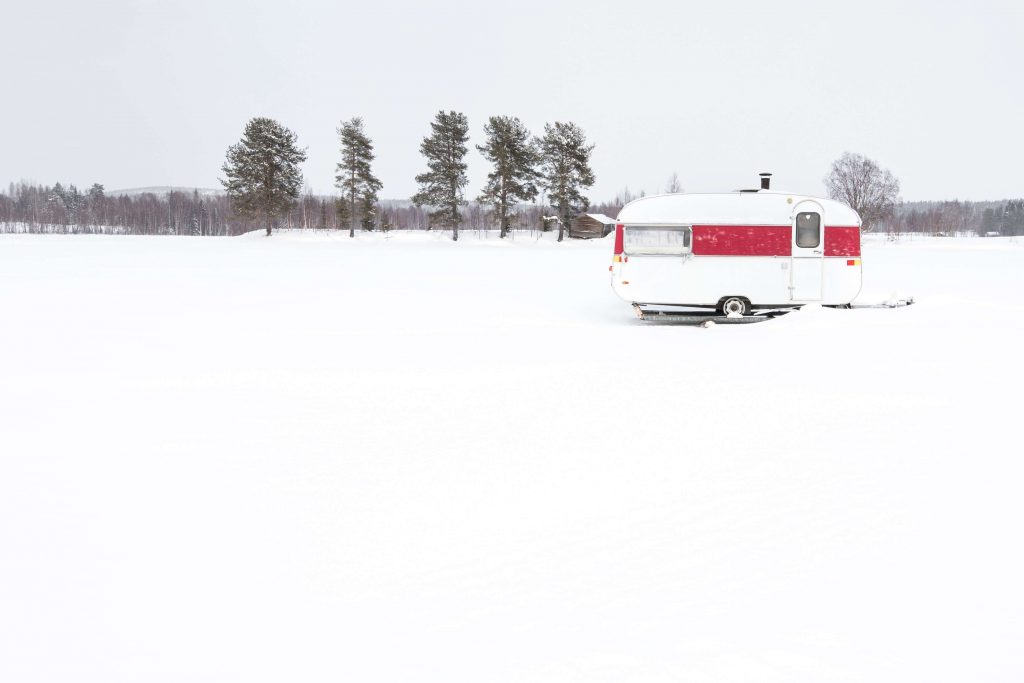
Winterizing your Camper for the Cold Weather
When winterizing your RV, the goal is to remove all the water, so there is no worry about damage to your camper when temperatures drop and freeze. There are different ways to winterize, but they all end the same way by removing all traces of water.
It’s better to prepare early with winterizing, so you will know that you are ready for the first cold snap that comes through unexpectedly. Even if you are preparing to go south for the winter, you should note when the temperatures start to drop because even one night of freezing temperatures can damage your RV.
Supplies needed:
- Owner’s Manual
- RV Antifreeze
- Flashlight
- Towels
- Buckets
- Container to collect access water
- Screw Driver
- Air Compressor and Blow out Plug
- Tool to remove anode plug if applicable
Overall, winterizing your RV is an easy task with routine maintenance to achieve. Before you start, consult your owner’s manual or look on your camper’s website for demonstrations or guidance on what to look for, every RV has different things you need to account for when you start the process, like kitchen appliances, washing machines, or ice makers. There are videos in Customer Toolbox that can show where valves are in your RV if you get lost.
- Clean and Drain
- In this order,
- Dump Black tank
- Dump Gray tank
- Dump Fresh Water Tank
- In this order,
- Clear out Water in lines
- Place containers under faucets to prevent water from going back into tanks
- Turn on the water pump and open both sides of the faucet for the water to drain.
- Repeat the steps until all faucets have drained
- Place a bucket at the low point of your RV and let it drain out.
- to let it drain faster open, faucets during this
- Open the pressure release valve on the water heater.
- If applicable, locate the anode rod on your water heater and remove it after releasing the pressure to help it drain out faster.
- Use your air compressor and blow out the water line and black flush inlet if you have a black flush.
- Then close any faucets.
- Open the Bypass valve on the water heater.
- Protect any water lines with RV Antifreeze
- Use the siphon tube from your water pump converter kit and insert it into a gallon jug of pink antifreeze.
- Turn on the water pump and close the low-point drain when you see antifreeze come through.
- One by one, open the hot and cold side of the faucet, toilet valves, and showers in and outside of your RV, then close when you see antifreeze come through.
- Turn off the pump and a faucet to release any pressure.
- Push antifreeze in the city water intake on the exterior of the RV by removing the cap and screen off the inlet
- Push the valve with a screwdriver and move out of the way once you see some, then replace the screen and cap
- Once you are done, drain it by keeping it in the antifreeze but not directly in the liquid.
- Turn on the water pump to suck up the rest of the fluid in the tube into the RV
- Turn off the pump and wipe and stow the tube.
- Pour a half cup of antifreeze into any P Traps of sinks, toilets, and showers.
More tips on getting your RV ready
Easy Tips on How to Prep for Storage
- Unplug power-draining devices
- Store the battery disconnect switch
- Turn off the main propane supply valve
- Remove food or any soft materials that would attract bug
- Turn off the fridge and, wipe down, leave the door open to help it dry out
- Use cordless dehumidifiers or find simple DIY hacks for dehumidifiers, like DIY hacks based on baking soda or rock salt
- cover tires to prevent dry rot
- Use repellent or traps around in places they could get in
- Leave open any cabinet or storage to help with circulation
After learning how to winterize your RV, you are now wondering if you can take out and use your RV after winterizing it. The answer is that you can; you’ll have to rely on campground hookups and glamp for the trip. Though if your RV has a cold weather package on your RV, it can stay warm and prevent freezing with a heated undercarriage; however, if it is off and traveling between campsites, it is possible to freeze.
Winterizing applies for RVs outside during the winter or if you don’t travel somewhere warm. Fun Town RV has uncovered storage for your RVs, motorhome, and pontoons; we can winterize your RV through our RV Service center!
If you are interested in finding your next RV, contact us today! We at Fun Town RV are excited to help you find the next RV of your dreams; the Fun Starts Here!

